


If you’re running Easy Digital Downloads and customers are getting license validation failures, you’re not alone. The problem is often not your code—it’s their hosting.
OVH, O,NE and several other hosting providers block outgoing requests to prevent abuse. When your customer’s site tries to validate a license against your server, the request never makes it out.
After digging through logs and testing different approaches, I found the solution: put AWS in front of your licensing server. Now validation requests go through AWS’s infrastructure instead of being blocked by restrictive hosts.
Why This Matters
Licensing servers need to be bulletproof. When someone activates your software before a Friday deadline, and your server goes down, that’s not just an inconvenience. It’s lost revenue and upset customers.
That’s where AWS Certificate Manager and API Gateway come in. Together, they give you:
- SSL renewals that happen on their own (no more midnight certificate panics)
- Global edge locations (fast response times everywhere)
- Built-in DDoS protection
- Pay-per-request pricing (no idle server costs)
- Custom domains (license.yourcompany.com instead of cryptic AWS URLs)
Most tutorials overcomplicate this setup. Here’s the straightforward approach that works.
Step 1: Request Your SSL Certificate
You need an SSL certificate for your custom domain. AWS Certificate Manager provides these for free when you use them with AWS services.
One decision upfront: where you create your certificate matters. For licensing servers, use regional APIs in your primary customer region. They’re simpler to set up and easier to debug than edge-optimized APIs.
Here’s how to get your certificate:
- Go to AWS Certificate Manager
- Click “Request certificate” then choose “Request a public certificate.”
- Configure your certificate:
- Domain: license.yourcompany.com
- Validation: DNS validation (this renews forever on its own)
- Key algorithm: RSA 2048
Choose DNS validation over email validation. Email validation means renewing certificates by hand every 13 months. DNS validation handles renewals on its own.
Adding the DNS Record
After you request the certificate, AWS provides a CNAME record for validation. Add this to your DNS provider.
Watch out for this mistake: Don’t include your full domain in the name field.
If AWS gives you:
- Name:
_abc123.license.yourcompany.com - Value:
_def456.acm-validations.aws.
Your DNS entry should be:
- Name:
_abc123.license - Value:
_def456.acm-validations.aws.
Give it 5-30 minutes to validate. If it’s been over an hour, check your DNS setup. That’s the usual problem.
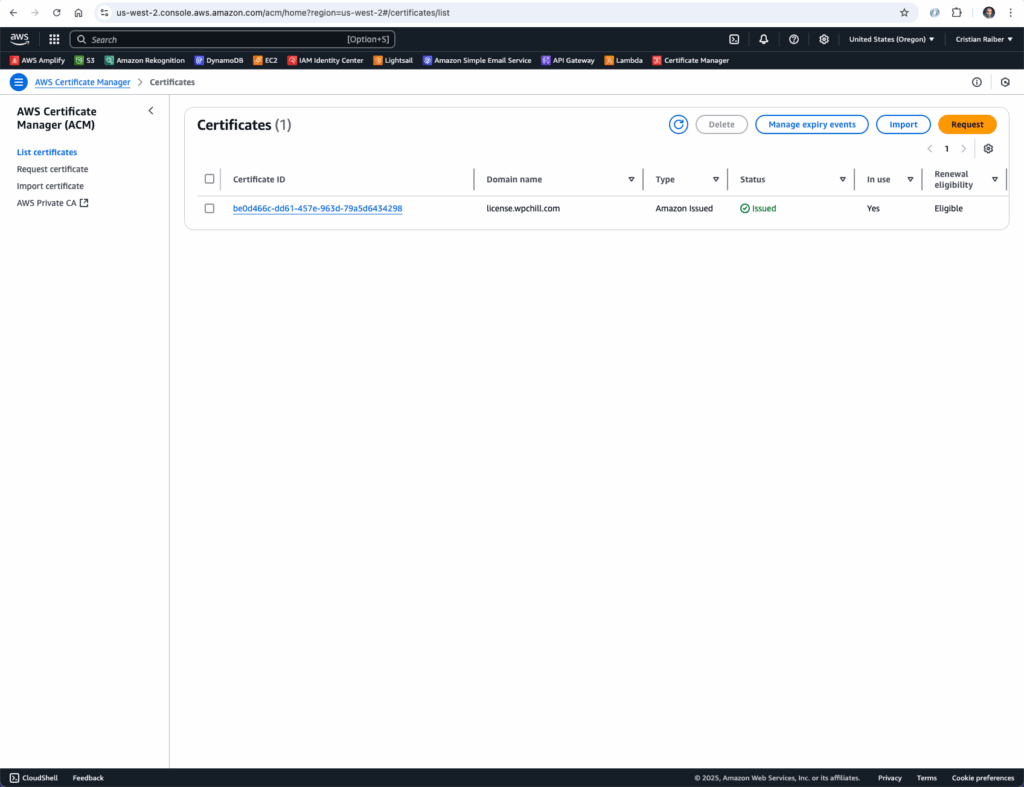
Once validated, your certificate shows an “Issued” status. You’re ready for the next step.
Step 2: Set Up API Gateway as Your Proxy
Now we’ll configure API Gateway to sit in front of your licensing server. It’s a managed reverse proxy that scales on its own.
Start by choosing your API type:
- Go to API Gateway
- Select “HTTP API” (it’s 70% cheaper than REST API and works well for licensing)
- Click “Build”
Configure your integration:
- Integration type: HTTP
- HTTP URI: Your licensing server URL (e.g., https://yourserver.com)
- API name: Something descriptive like “licensing-proxy.”
The key is setting up a greedy proxy resource using /{proxy+}. This captures all paths and forwards them to your backend. No need to configure each endpoint by hand.
Set your route to:
- Path:
/{proxy+} - Method: ANY
This forwards every request type to your backend server.
Don’t forget this step: Deploy your API to a stage (like “prod”). APIs don’t work until you deploy them.
Step 3: Connect Your Custom Domain
This is where everything comes together. Your customers will hit your professional custom domain instead of AWS’s generated URL.
Use the AWS CLI to create the connection:
# Create the custom domain
aws apigatewayv2 create-domain-name \
    --domain-name license.yourcompany.com \
    --domain-name-configurations \
    CertificateArn=arn:aws:acm:us-west-2:123456789:certificate/your-cert-id

# Map it to your API
aws apigatewayv2 create-api-mapping \
    --domain-name license.yourcompany.com \
    --api-id your-api-id \
    --stage prod
One last DNS change: Add a CNAME record pointing your custom domain to API Gateway’s regional domain name. You’ll find this in the console after creating the domain.
Test your setup by hitting https://license.yourcompany.com/your-endpoint. It should forward to your backend licensing server.
What This Means
Your licensing infrastructure is part of your product experience. When customers are excited to use your software and the licensing server is down, you’ve turned excitement into frustration.
This setup gives you enterprise reliability without enterprise complexity or cost. Certificates renew on their own. Traffic spikes don’t crash anything. You can focus on building software instead of watching servers.
When licensing “just works,” customers don’t think about it. They activate, get to work, and become happy long-term customers. That’s worth more than the few dollars a month this costs.
You get 1,000,000 totally free API calls, and the next 1,000,000 API calls cost $0.90. Less than $1 for mental sanity.
